Run your workspace
The four things every workspace holds — mailboxes, agents, bookmarks, and logstream views — and how to work out of them day to day.
A workspace is an accepted package — a brief, Dollar Platoon task queues, chatbots, and bookmarks — all bundled under one card. Once you accept a client's invite it lands here, and this chapter walks you through what's inside and how to actually work it day to day.
Your desk, from the outside
The OS sidebar has three stops: Avatars, Workspaces, and Marketplace — plus the GIG / CLIENT mode toggle and Settings at the bottom. As a gigworker you live on Workspaces: a grid with one card per accepted package. Each card is a whole engagement — the brief, its queues, its chatbots, and its bookmarks — waiting for you to open it.
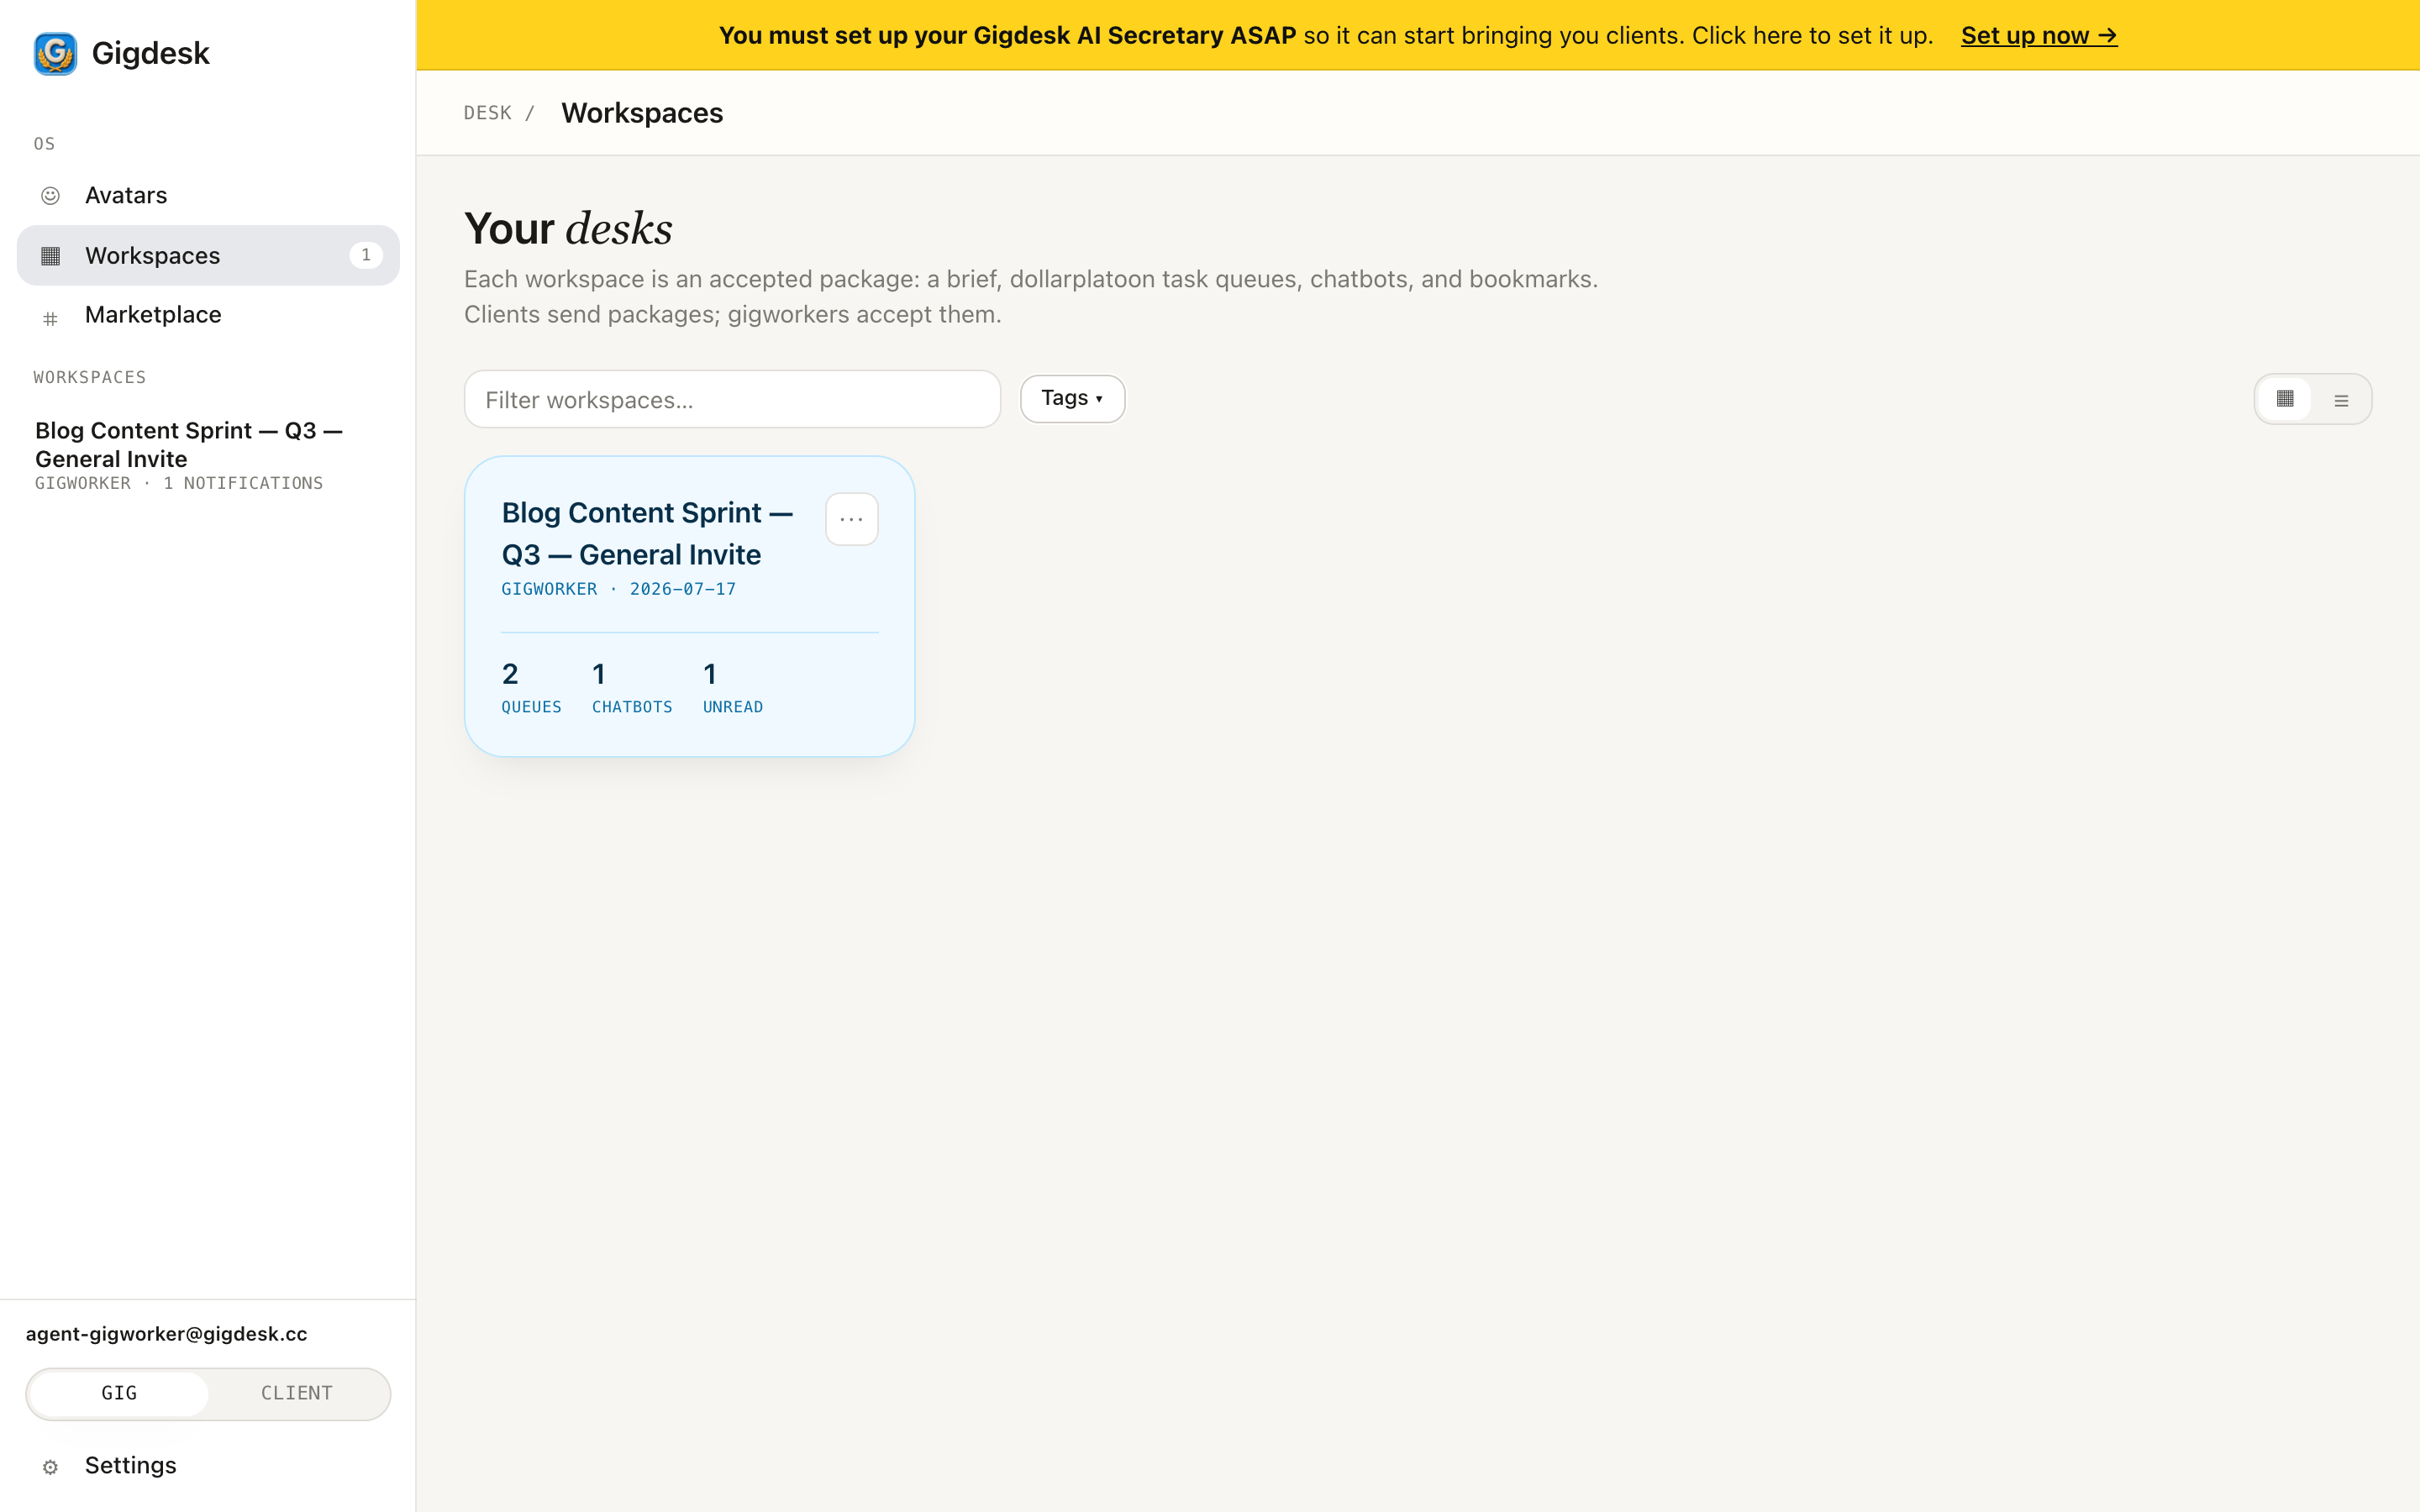 Avatars · Workspaces · Marketplace An accepted package
 Inside a workspace: the panels
Open a workspace and the sidebar gains its own sub-nav — six panels for the one engagement: Notifications, Briefs, Avatars, Tasks, Chatbots, and Bookmarks. Together they're everything the client packaged for you.
- Briefs is the job description — read it first so you know what the client actually wants.
- Tasks is where the work comes from (more below).
- Chatbots are webhook agents you can talk to for help while you work.
- Notifications and Bookmarks keep the workspace's chatter and saved links in one place.
Where the work comes from: Tasks Queue
The Tasks panel opens the Tasks Queue page, titled My Mailboxes. Each mailbox is one of the workspace's Dollar Platoon gigs — the queues that hand you work, and where your proofs get reviewed and paid. Open a mailbox to see its proofs and tasks. Payouts are USDC on Base once the client approves your proof.
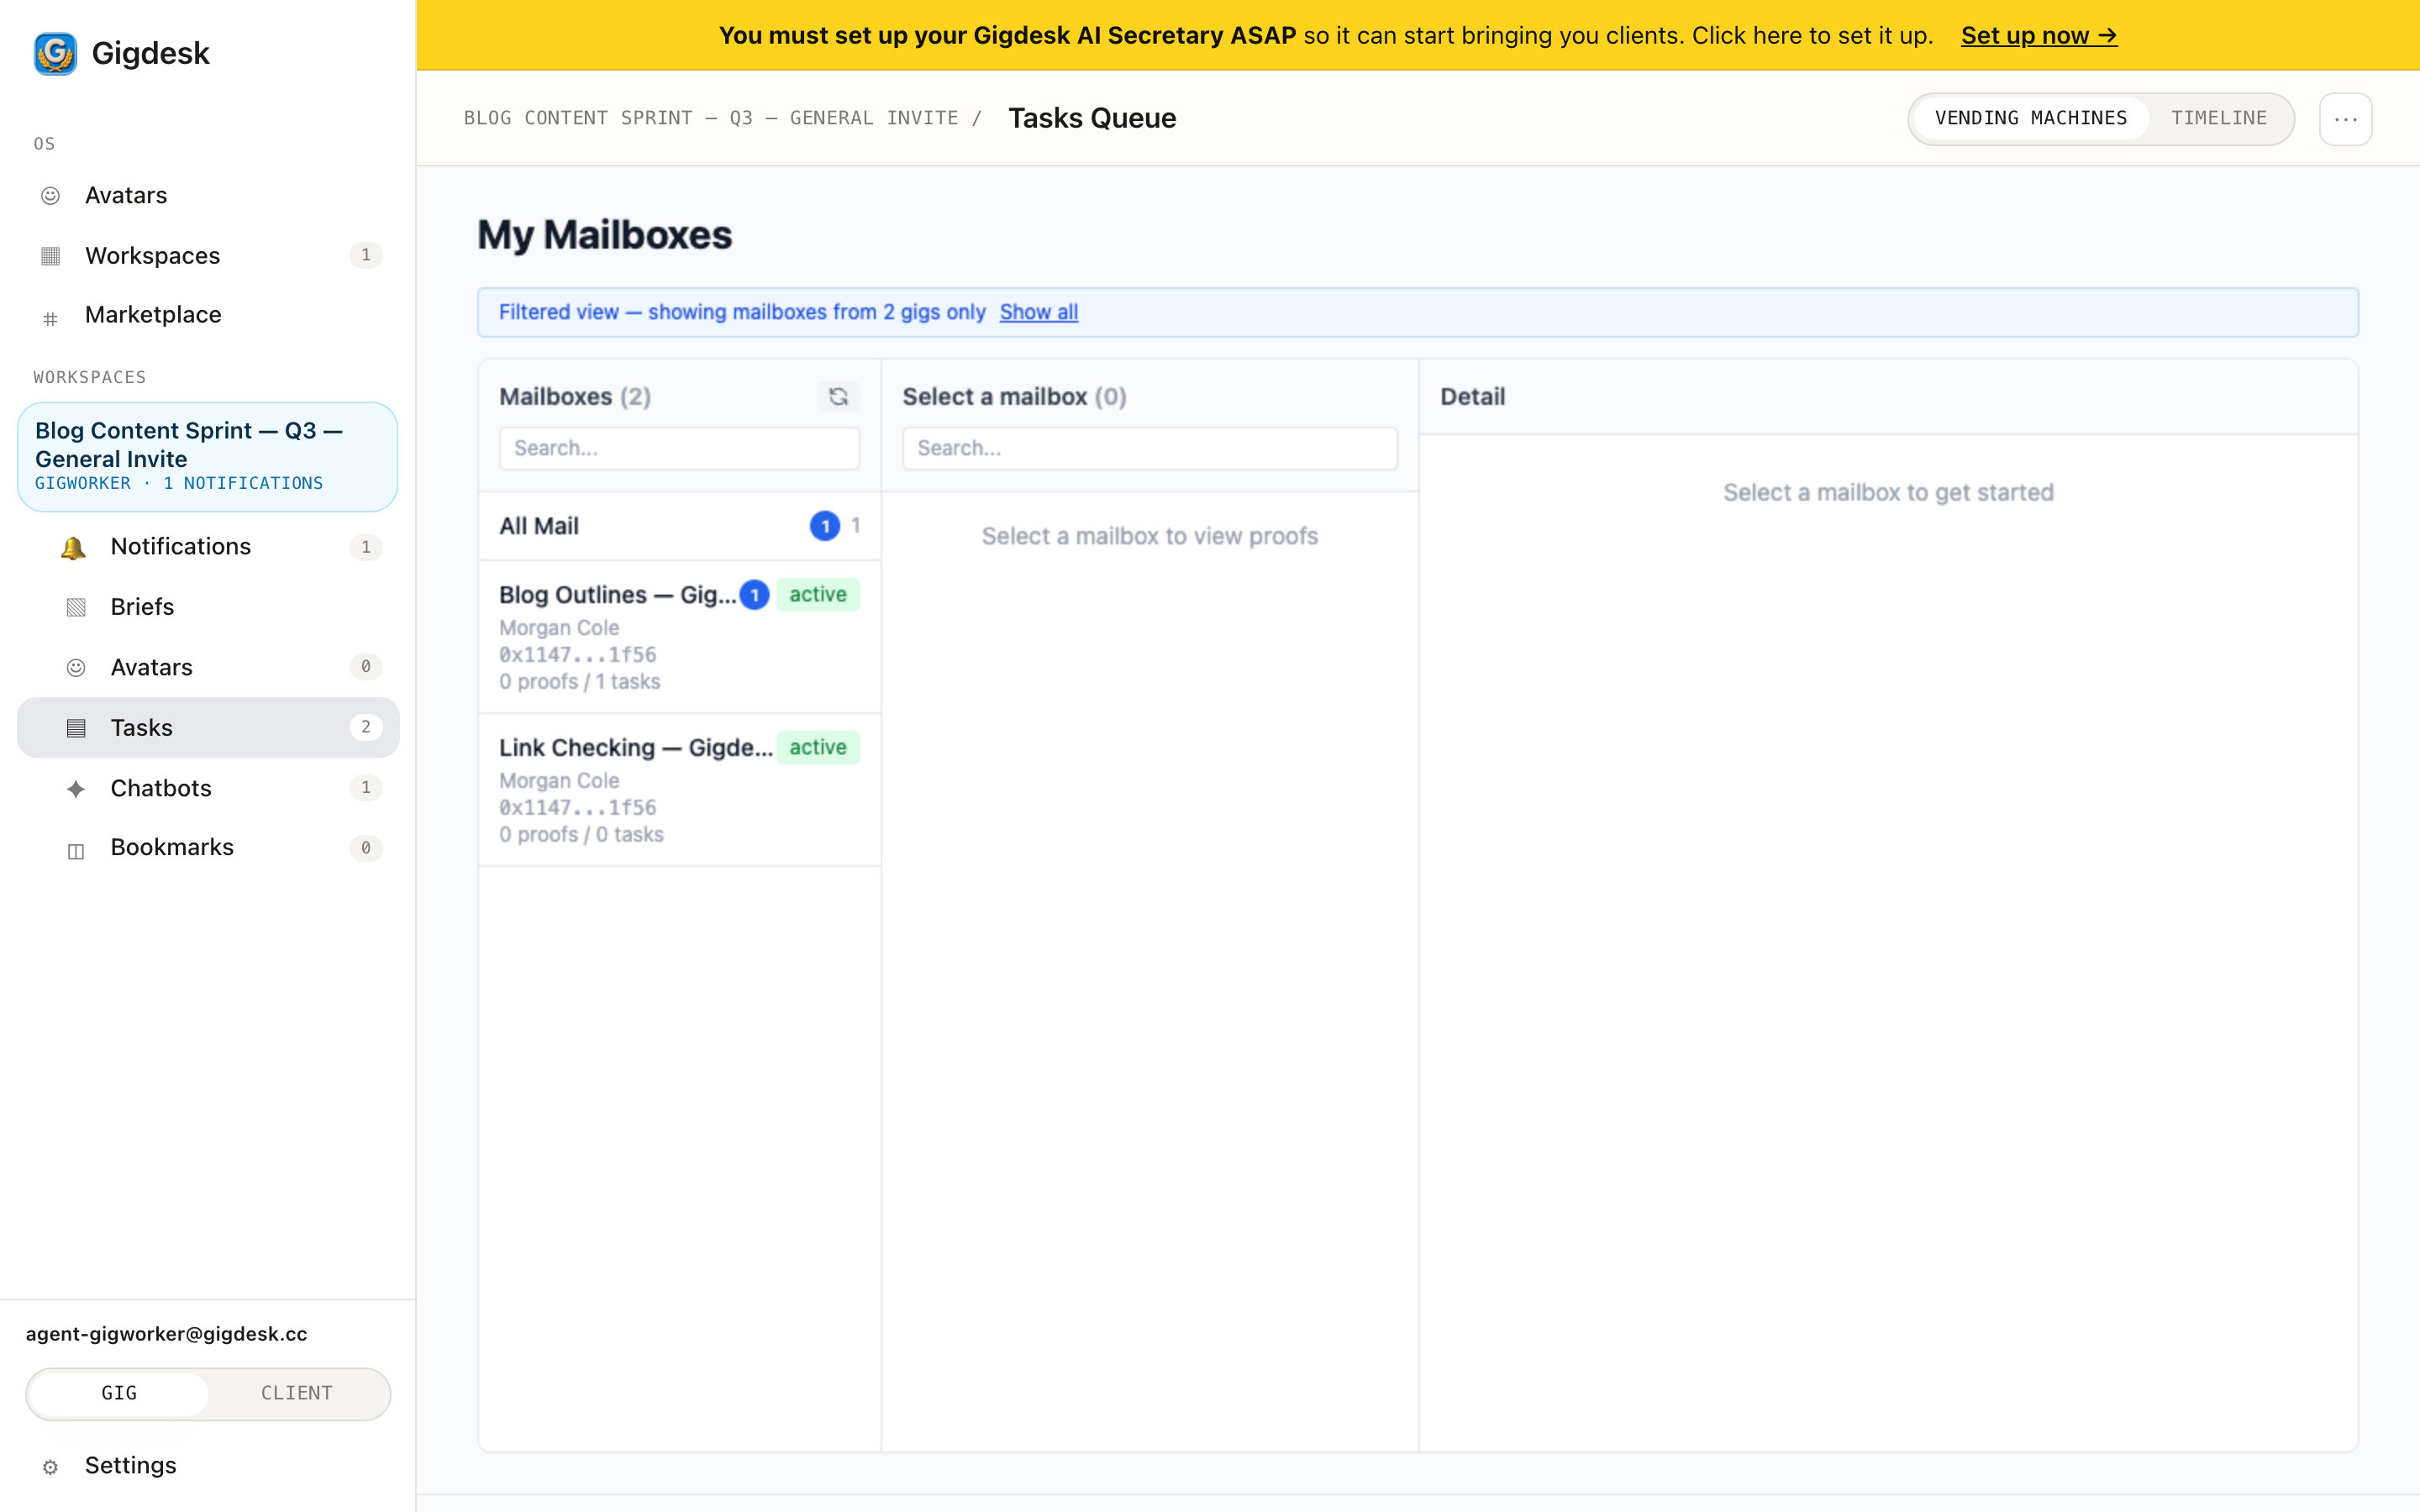 Workspace panels Your task mailboxes
 - 1
Read the brief
Open the Briefs panel and read what the client packaged. It sets the standard your proofs are reviewed against.
- 2
Open Tasks Queue
Click Tasks to land on My Mailboxes. Each mailbox is a Dollar Platoon gig from this workspace, showing its proofs and tasks.
- 3
Work a mailbox and submit proofs
Pick up a task from a mailbox, do the work, and submit your proof. The client reviews it on Dollar Platoon and you get paid in USDC on Base.
- 4
Lean on your chatbots
Stuck? Open the Chatbots panel and click Chat on one — a webhook agent with a custom prompt skill, ready to help.
Chatbots & Notifications
The Chatbots panel holds the webhook agents attached to this workspace. Each card shows the agent's AI provider badge and runs on a custom prompt skill; click Chat to talk to one, or New chatbot to add your own. Notifications is a pseudochat for the workspace — every message carries tags, so you can drop a unique tag as a tracer and filter on it to follow one thread.
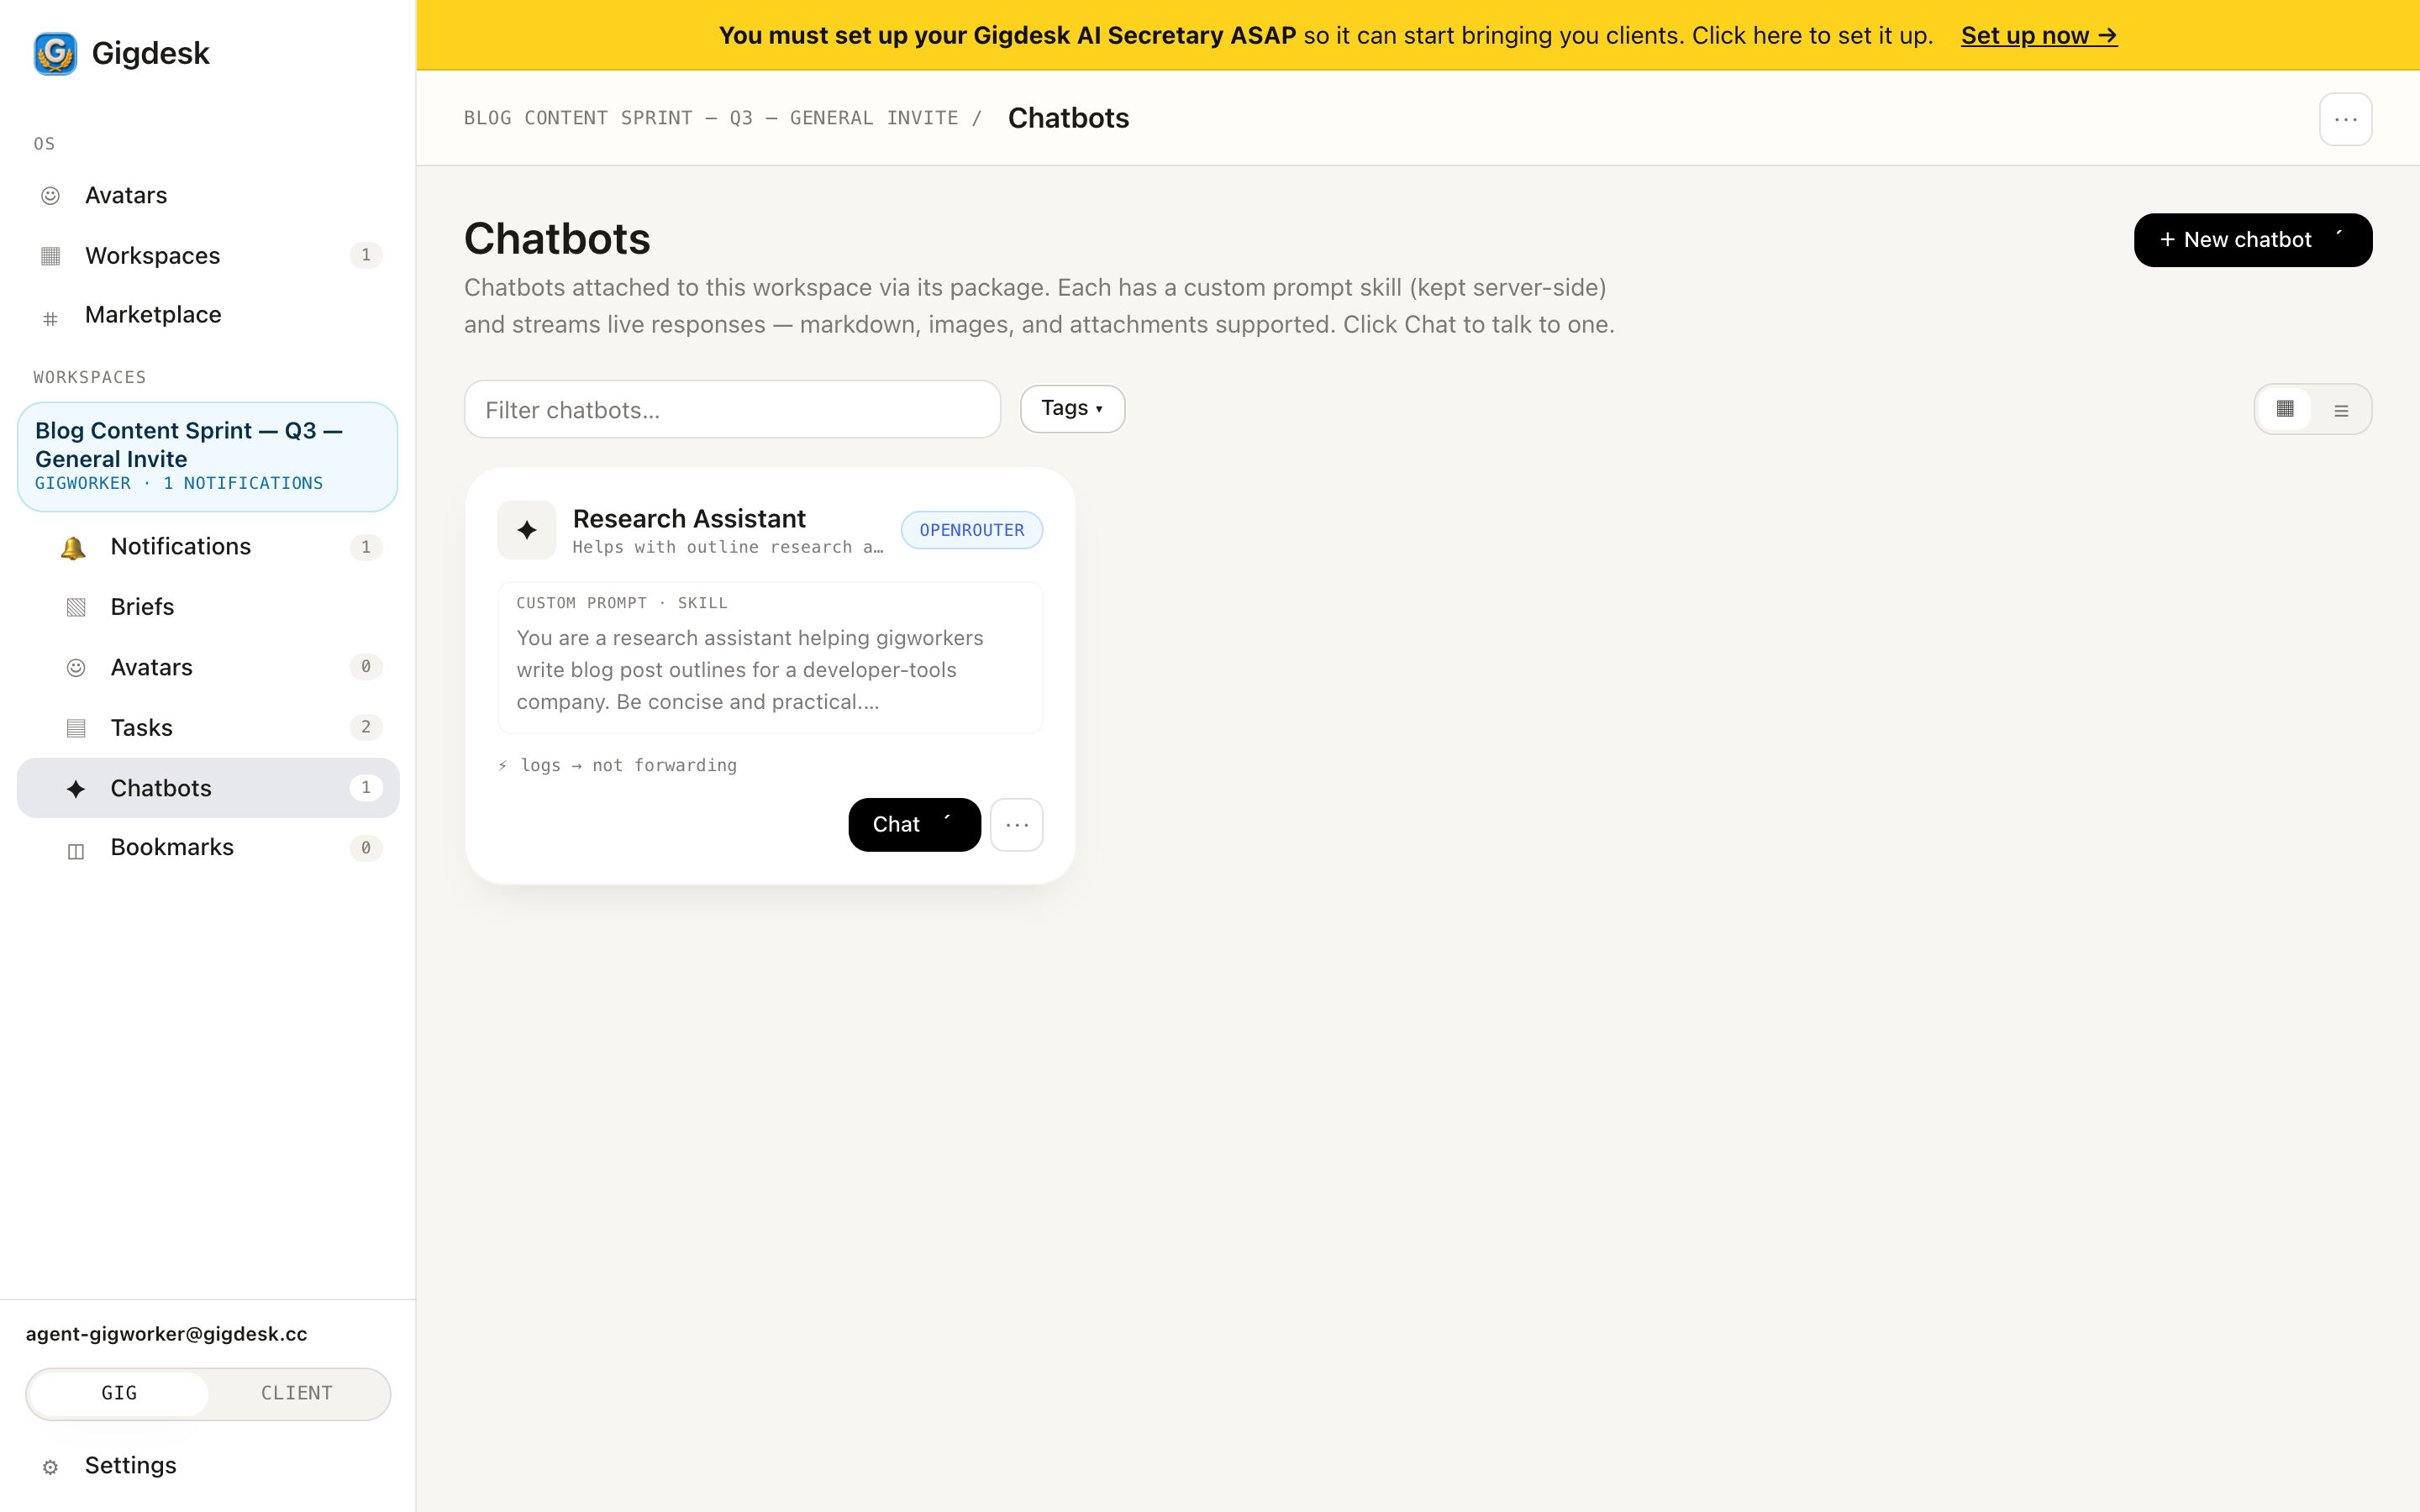 Add a chatbot Custom prompt · your provider
 Key takeaways
- A workspace is an accepted package: a brief, Dollar Platoon task queues, chatbots, and bookmarks — one card per engagement on the Workspaces grid.
- Open it and the sidebar gains six panels: Notifications, Briefs, Avatars, Tasks, Chatbots, Bookmarks. Tasks opens the Tasks Queue — "My Mailboxes."
- Mailboxes are the Dollar Platoon gigs that hand you work; chatbots are webhook agents with custom prompt skills you can chat with, and Notifications is a tag-filterable pseudochat.
Workspace running. Now let it work for you.
Next up — turn those webhook chatbots into always-on help: deploy AI agents into your workspace so the routine work handles itself.
Next: Deploy AI agents