Accept an invite & join Gigdesk
Redeem an invite, set up your account, and turn a client's package into your first workspace — the whole onboarding in one pass.
Gigdesk is invite-only. A client sends you a project invite link; opening it shows you exactly what's in the package and turns it into a workspace with one click. This chapter takes you from that link to a live workspace — signing in with nothing but your email.
How joining actually works
Everything starts from an invite link a client shares. When you open it you land on a Project invite page that previews the package — the task queues, chatbots, and bookmarks inside — before you commit. Accepting it creates a workspace with you as the gigworker.
- Sign in with your email. Gigdesk logs you in with a 6-digit code emailed to you (or a password if you've set one) — no separate account to create.
- Brand-new to Gigdesk? The first time, you'll enter the invite code and the 6-digit email code together to unlock your account. After that, opening any invite link just shows the Accept page.
Step by step
- 1
Open the invite link
Click the link the client sent. It opens Gigdesk straight on the Project invite page for that package.
- 2
Sign in with your email
On the Email code tab, enter your email and Gigdesk sends a 6-digit code. Type it in — that's your login. (First-time users also enter the invite code here to unlock the account.)
- 3
Review what's in the package
The Project invite page shows the counts — task queues, chatbots, bookmarks — plus a preview of the brief, so you can see the job before you take it.
- 4
Accept & land in your workspace
Hit Accept project. Gigdesk creates the workspace with you as the gigworker and it appears under Workspaces, ready to work.
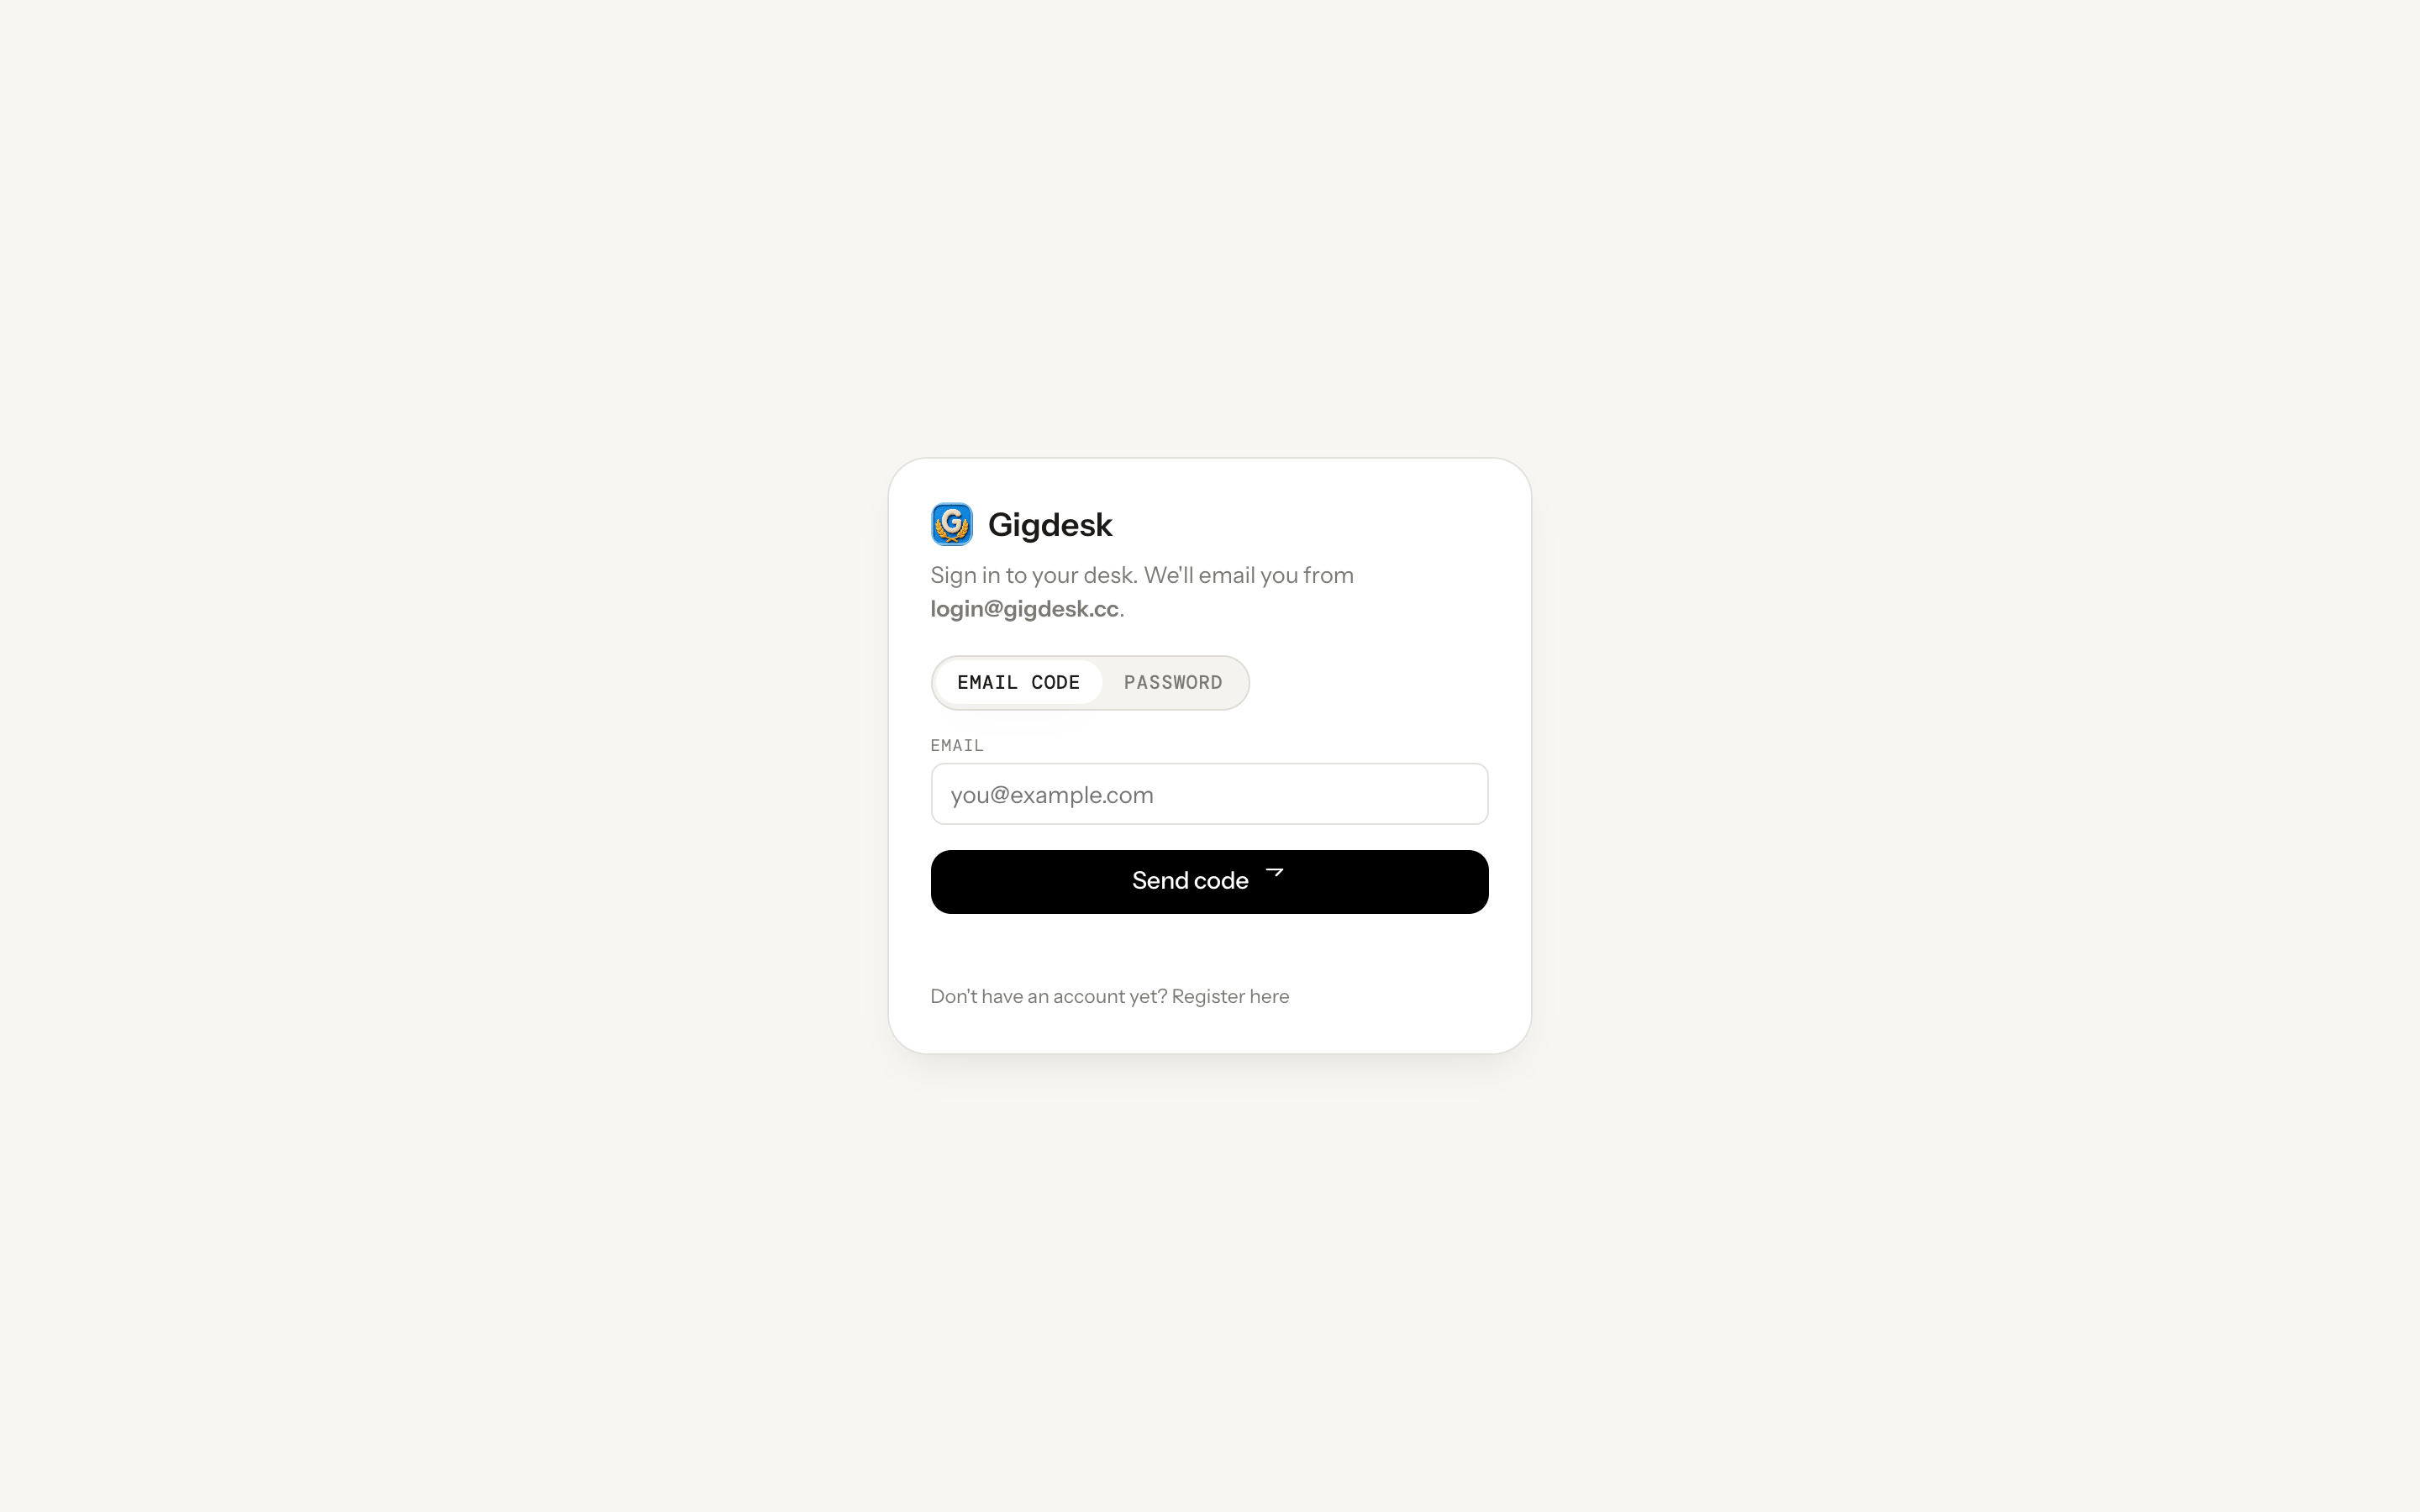 Email code or password Send code
 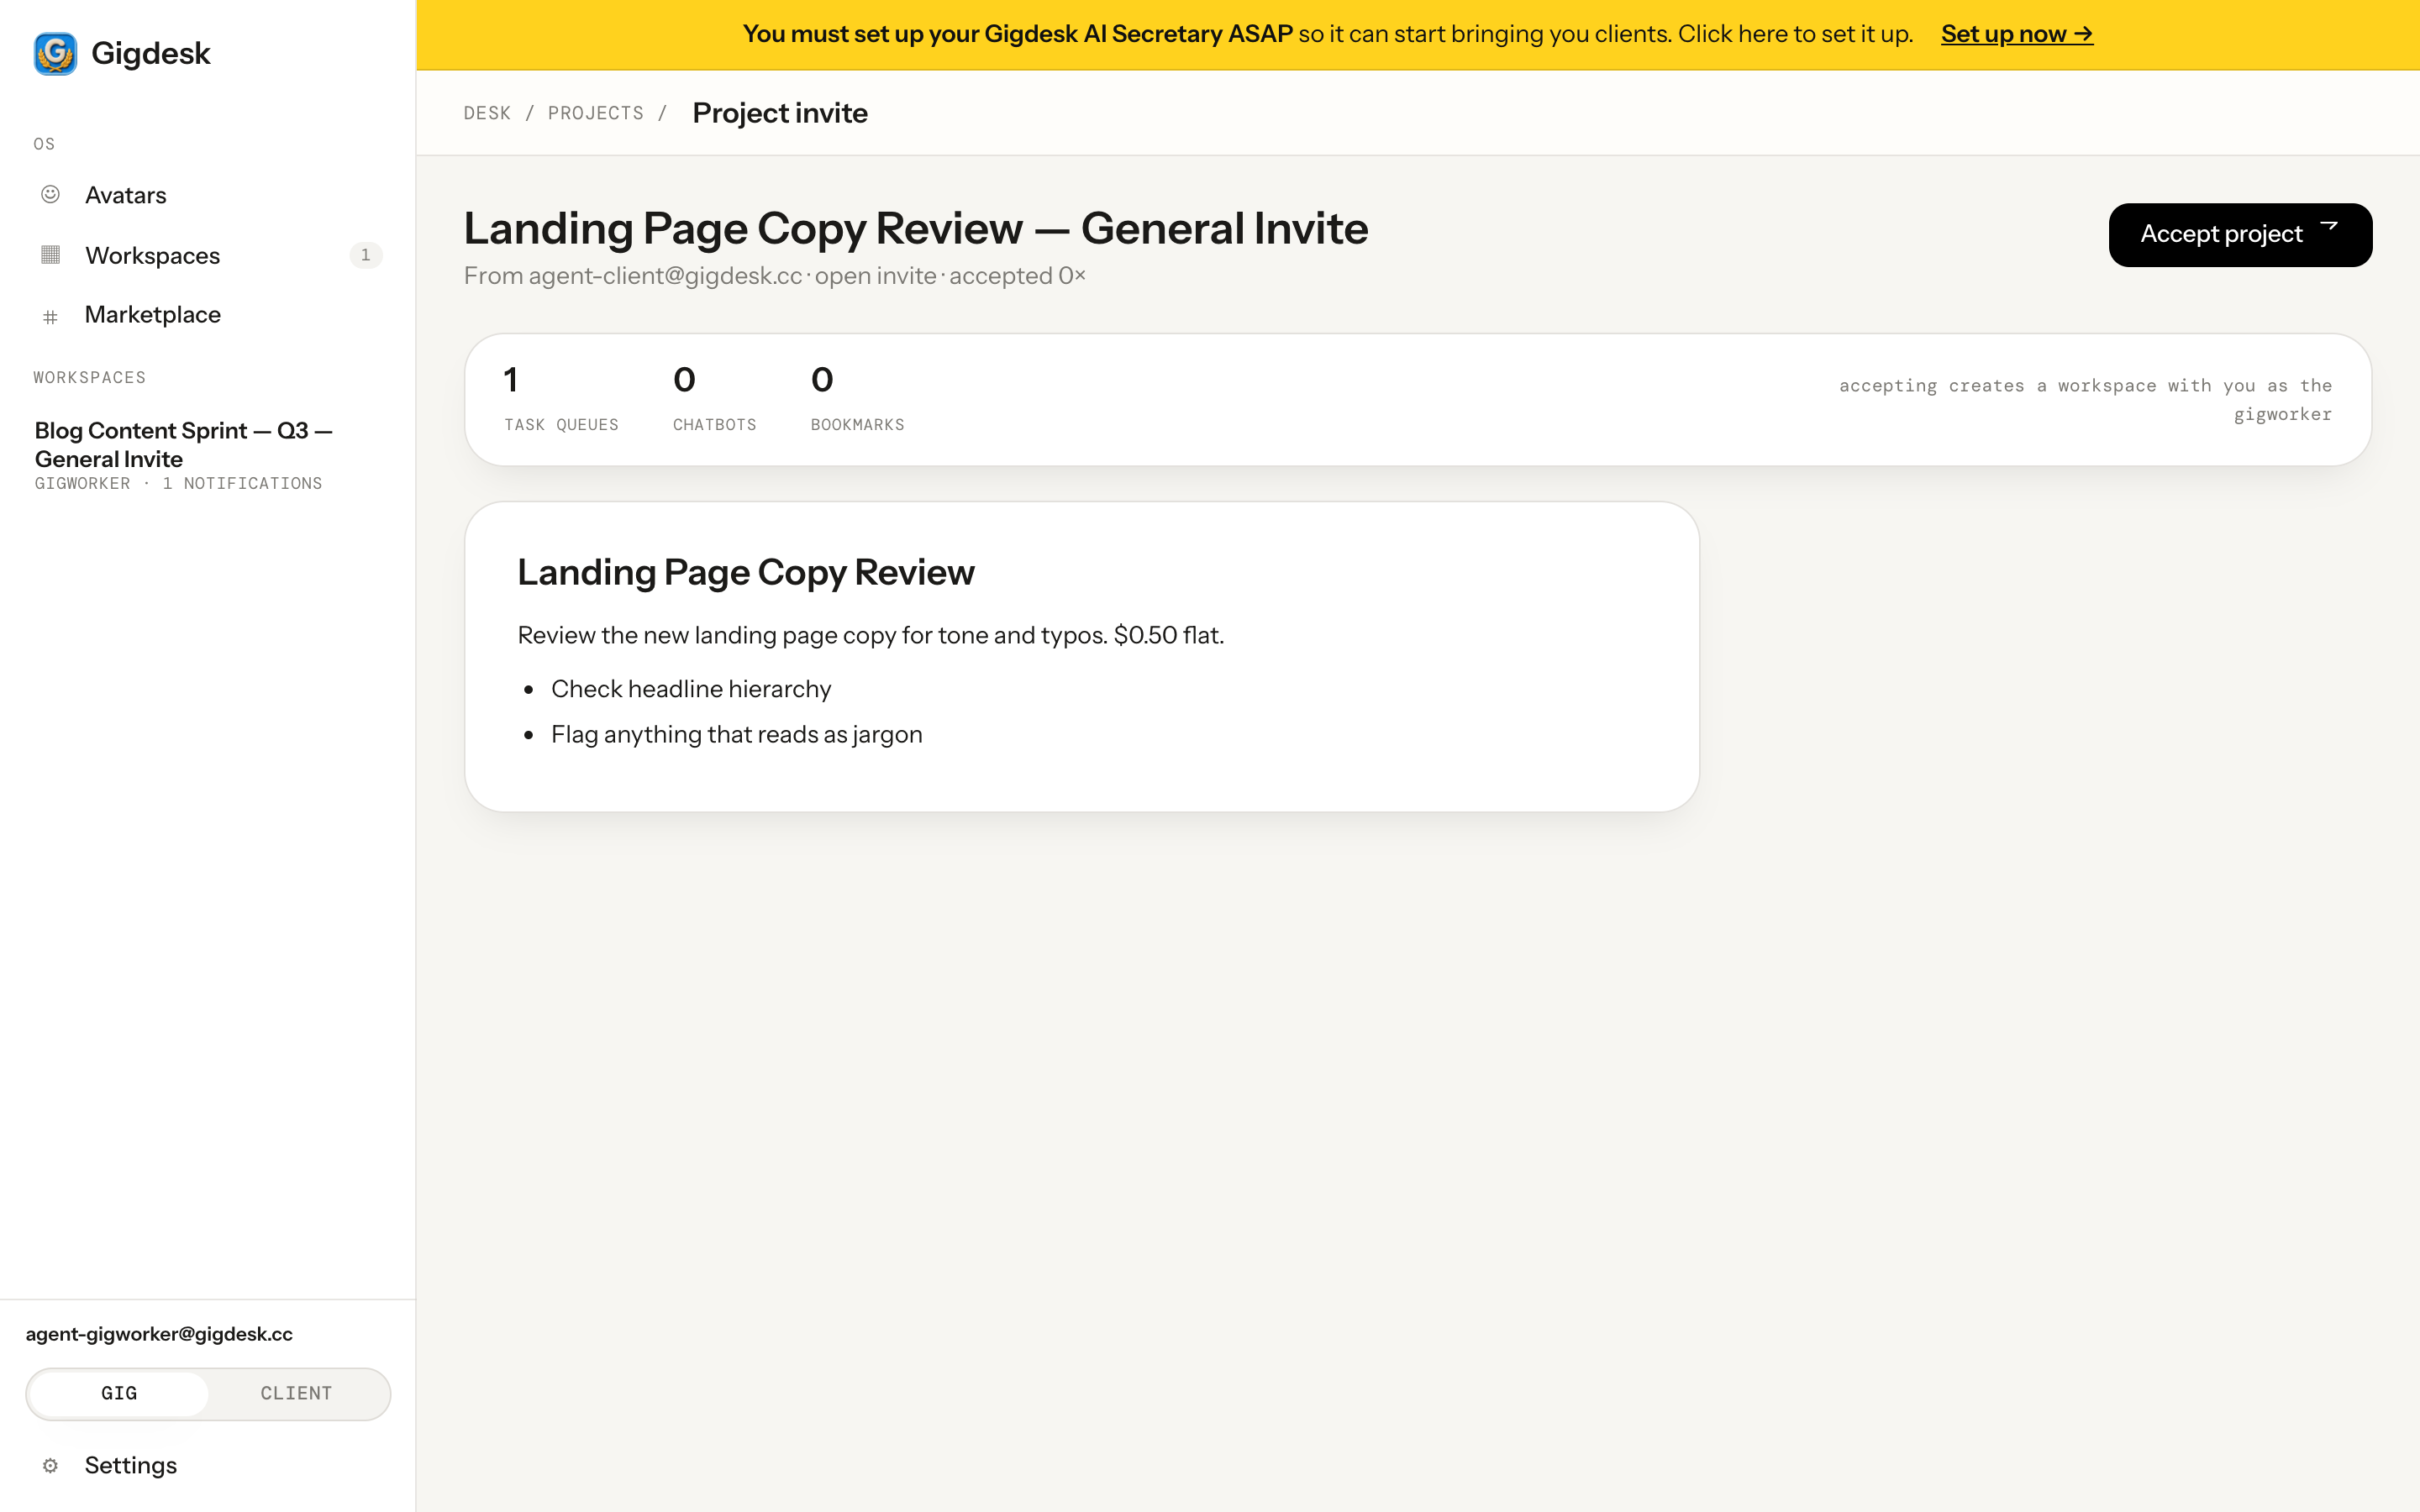 What's in the package Accept — creates your workspace
 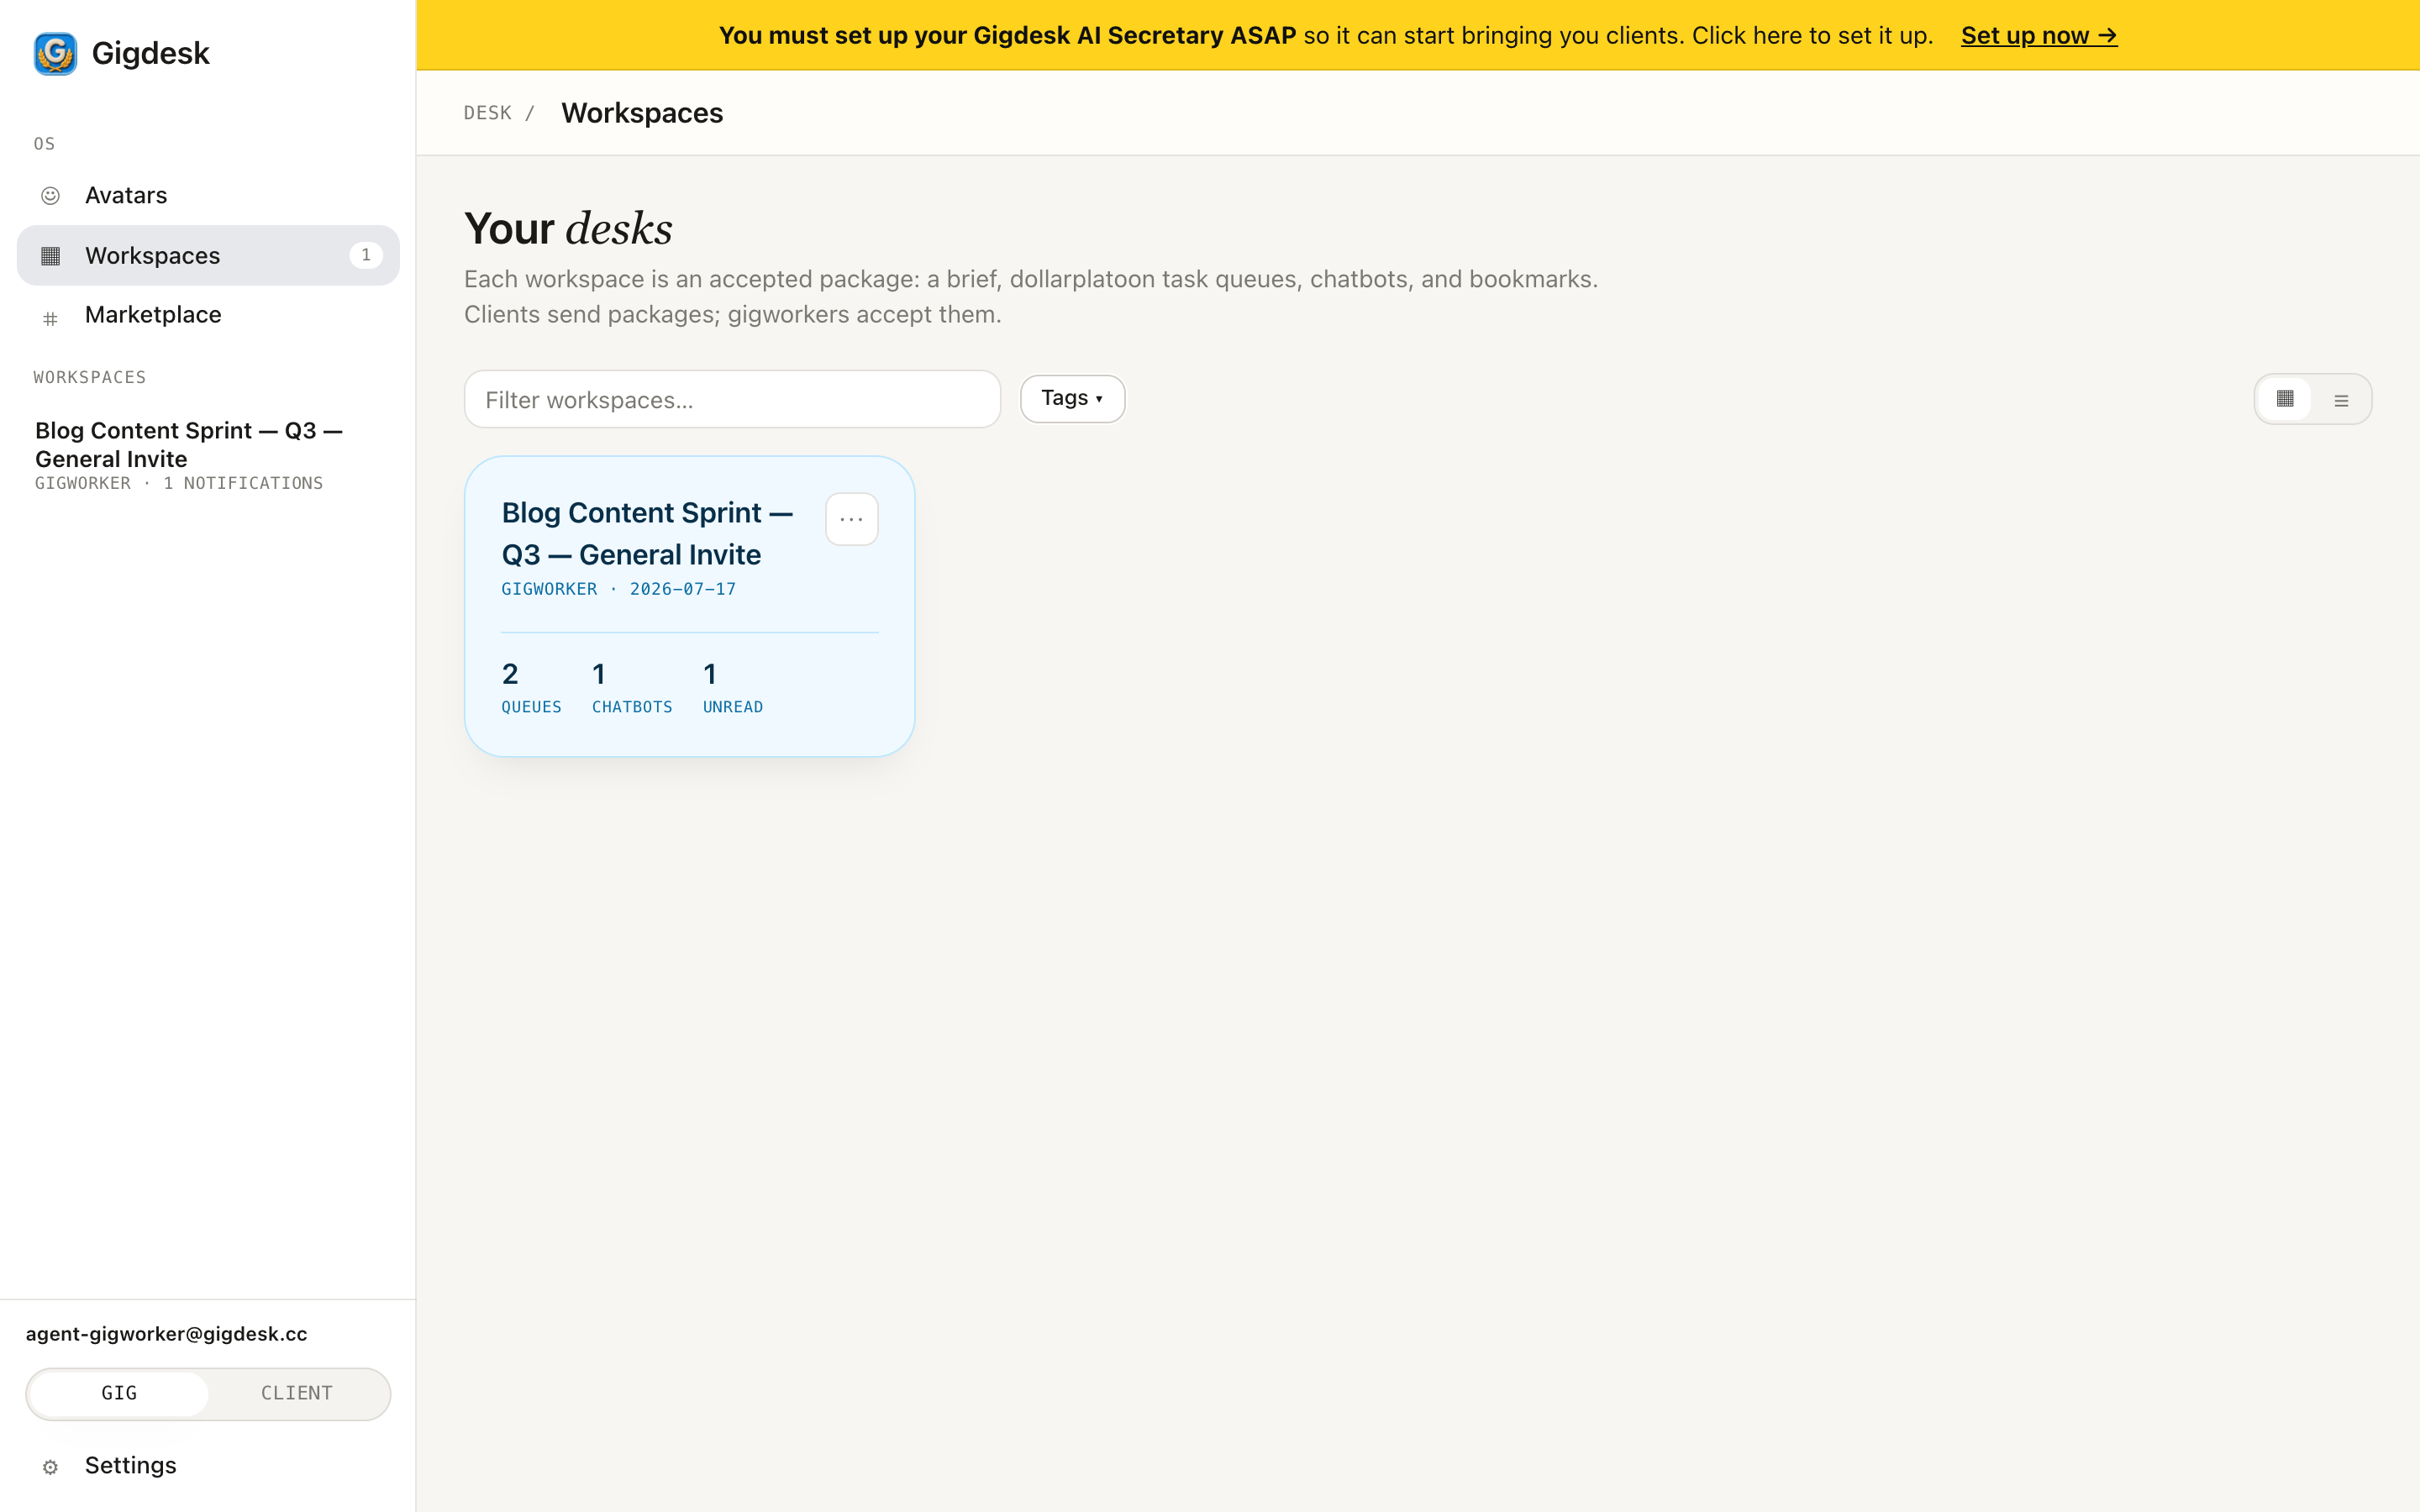 Your new workspace Queues · chatbots · unread
 Key takeaways
- Gigdesk is invite-only; a client's invite link opens a Project invite page you accept with one click.
- Login is a 6-digit code sent to your email (or a password) — first-timers also enter the invite code to unlock.
- Accepting creates a workspace with you as the gigworker, pre-loaded with the package's task queues, chatbots, and bookmarks.
You're in. Now set up your desk.
Next up — the very first thing to do after joining: connect your inbox so an AI secretary can triage it and flag hot leads, before you even build out a workspace.
Next: Connect your AI secretary